How Underwear Should Fit: A Comfortable Fit Checklist
Check your underwear waistband, leg openings, gusset and back coverage while sitting and moving, with fixes for rolling, digging, gaping and riding up.
By US Hosiery EditorialPublished 5 min read
The short answer
Underwear should stay where you want it without digging, pulling or repeated adjustment. Check each edge, then sit, squat and walk before changing size.
In this guide
Underwear can look right standing still and need adjusting as soon as you walk. Start with what you feel and where it moves, not just the size on the label.
The short answer
Look for a waistband that stays put without digging, leg openings that don't cut in or gape, and a gusset that sits centrally underneath you. The back should give you the coverage you chose without being pulled into a different shape as you move.
The checks below are a try-on checklist, not a measurement formula. Change one thing at a time so you can tell whether size, cut or the edge finish makes the difference.
Start at the waistband
Settle the waistband at the height the garment is designed for. A low-rise pair shouldn't need hauling up to your natural waist.
- Digging: notice whether the whole garment feels stretched or just the elastic feels harsh. Compare the next size if it's tight throughout. If the body fits comfortably, try a softer or wider waistband in another style.
- Rolling: check whether you're pulling a lower-rise pair too high, whether the fabric below the band is taut, and whether it folds only when you sit. Compare a different rise as well as a different size.
- Sliding: check for loose fabric and a waistband that's lost its recovery. A smaller size may help a new pair that's roomy everywhere; it won't restore worn elastic.
Don't use a fixed “two-finger rule” or the absence of every temporary skin mark as a pass/fail test. Ask whether you can sit and move comfortably and whether the garment stays in place.
Check both leg openings
Follow each opening from front to back. It should sit close enough to give the coverage you want without cutting in. Check both sides; they may not feel the same.
If the front gapes but the waist fits, compare a different leg shape. Making the entire garment smaller may leave the waistband too tight. If the openings cut in while the body fabric looks relaxed, a higher leg line or a different elastic finish is another option.
With boyshorts, see whether the hems stay down during a walk. Don't keep pulling a short leg lower than it was cut to sit. Try another leg length if it repeatedly bunches.
Find the gusset and check the seams
The gusset is the crotch panel, often with a separate lining. Check that it sits centrally underneath you, without twisting, folding into a narrow ridge or being pulled sharply forwards or backwards.
If it feels too narrow or too short, don't assume the next size will solve it. Compare another style with a differently shaped panel. If the whole garment is stretched taut and pulling the gusset out of position, try more room first.
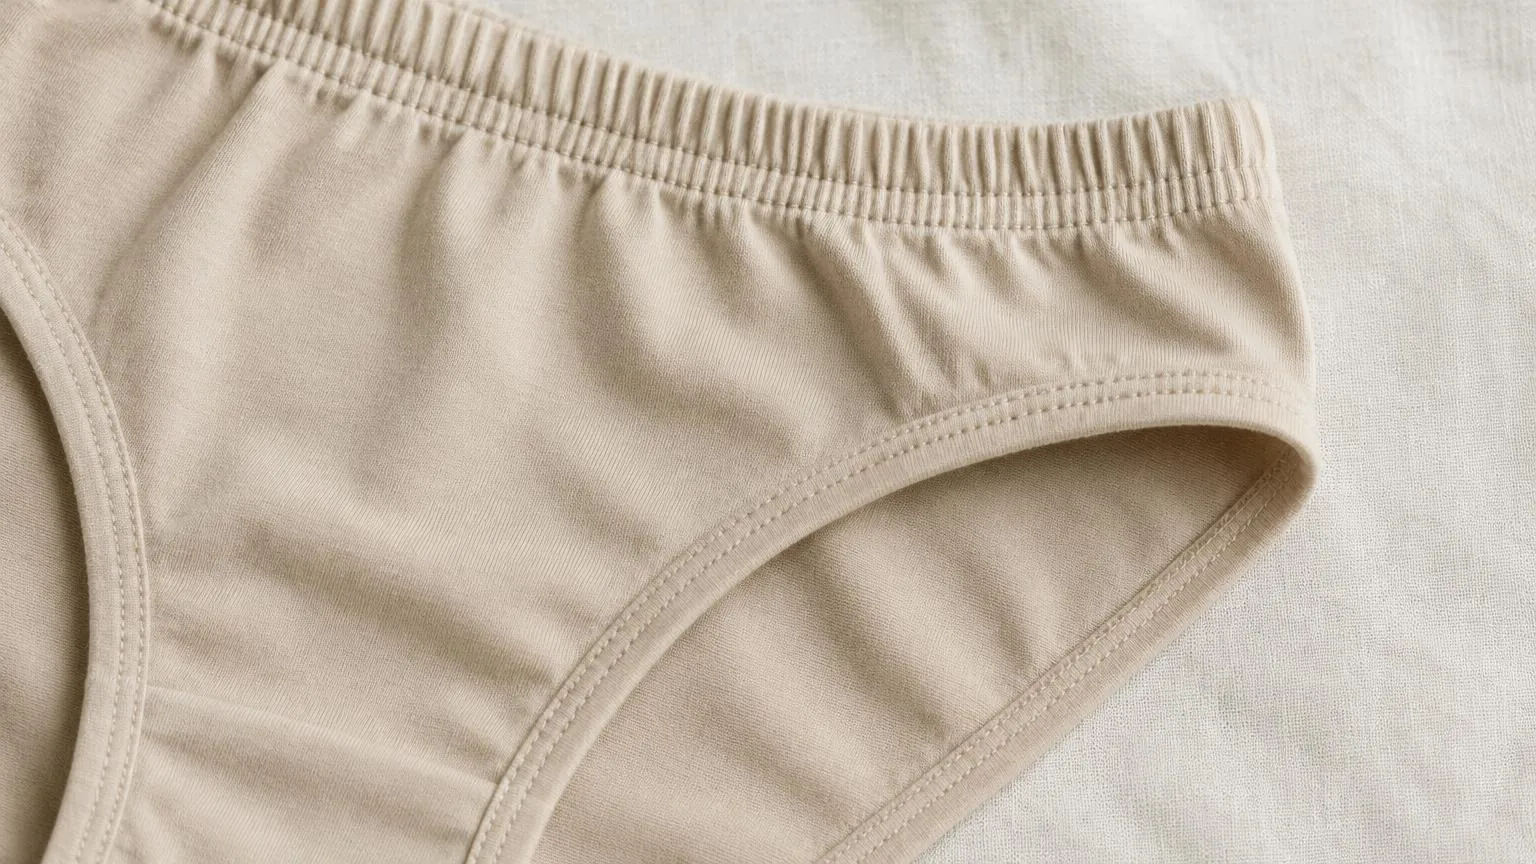
Run a hand along the side seams, waistband joins and leg edges. If one join bothers you while everything else fits, look for a flatter seam or a different edge finish. “Seamless” on a label isn't a reason to skip this check: inspect the actual gusset joins and waistband too.
Check the back coverage
A full brief should provide the fuller coverage you bought it for. If its edges keep moving inward, compare more room across the back or a different back-panel shape. If a larger size becomes loose at the waist, changing the cut is the more useful next test.
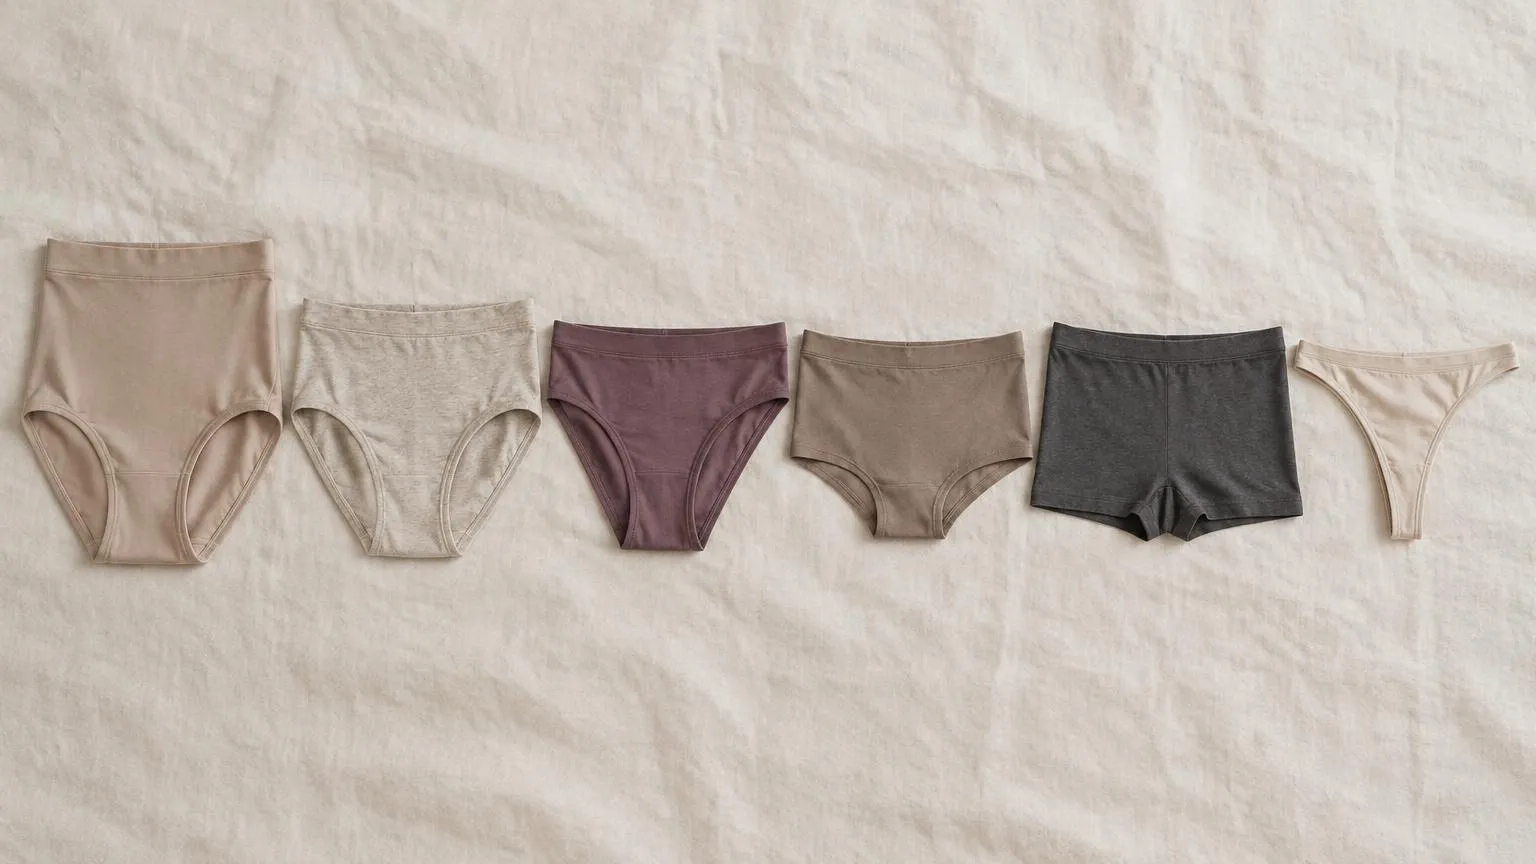
A cheeky or Brazilian deliberately leaves more of the lower bottom uncovered. A thong deliberately has a narrow back. Don't judge these cuts by a full-brief coverage checklist. Check whether they stay comfortable in their intended position instead. The style comparison helps separate coverage from rise.
Sit, squat and walk
Try new underwear in line with the retailer's hygiene and returns rules. A protected try-on can help you compare shape, though the extra layer changes how the fit feels.
- Stand: settle the waistband and check the gusset and back edges without stretching them into place.
- Sit: use your usual chair. Notice folding, pressure at the waistband and pulling through the crotch.
- Squat or bend: move within your comfortable range. Check that the back doesn't slide down or the legs cut in.
- Walk: take several steps and turn. Notice whether you immediately need to readjust.
- Add your clothes: repeat the seated check with trousers or a skirt fastened. Separate underwear pressure from an outer waistband that's too tight.
Troubleshoot one symptom at a time
These are options to compare, not diagnoses of a particular size problem.
| Symptom | What to check | What to try |
|---|---|---|
| Waistband rolls | Intended rise, pulling below the band, seated folds | Another rise or band construction; more room if taut throughout |
| Waistband digs | Whole-garment tightness versus elastic alone | Size up if tight throughout; otherwise change the waistband finish |
| Waistband slides | Loose body fabric, worn elastic, rise | Size down if roomy throughout; replace worn pairs or try another rise |
| Leg opening gapes | Loose fabric everywhere or just at the front leg | Smaller size if generally loose; another leg shape if localised |
| Leg edge cuts in | Tight body panel versus a restrictive edge | More room, higher leg line or softer edging |
| Back rides inward | Back width, coverage and tension | Fuller back panel, another cut or a larger size if stretched |
| Gusset twists or pulls | Garment orientation, panel length and overall tension | Resettle once; compare another gusset shape if it keeps happening |
| Boyshort legs bunch | Hem position, leg length and room around thighs | A different leg length or cut, not repeated pulling down |
| One seam bothers you | The specific join or label | Flatter construction in another pair |
Change size or change cut?
Try sizing up when the garment feels stretched and restrictive across several areas. Try sizing down when it's loose across several areas and won't stay in place.
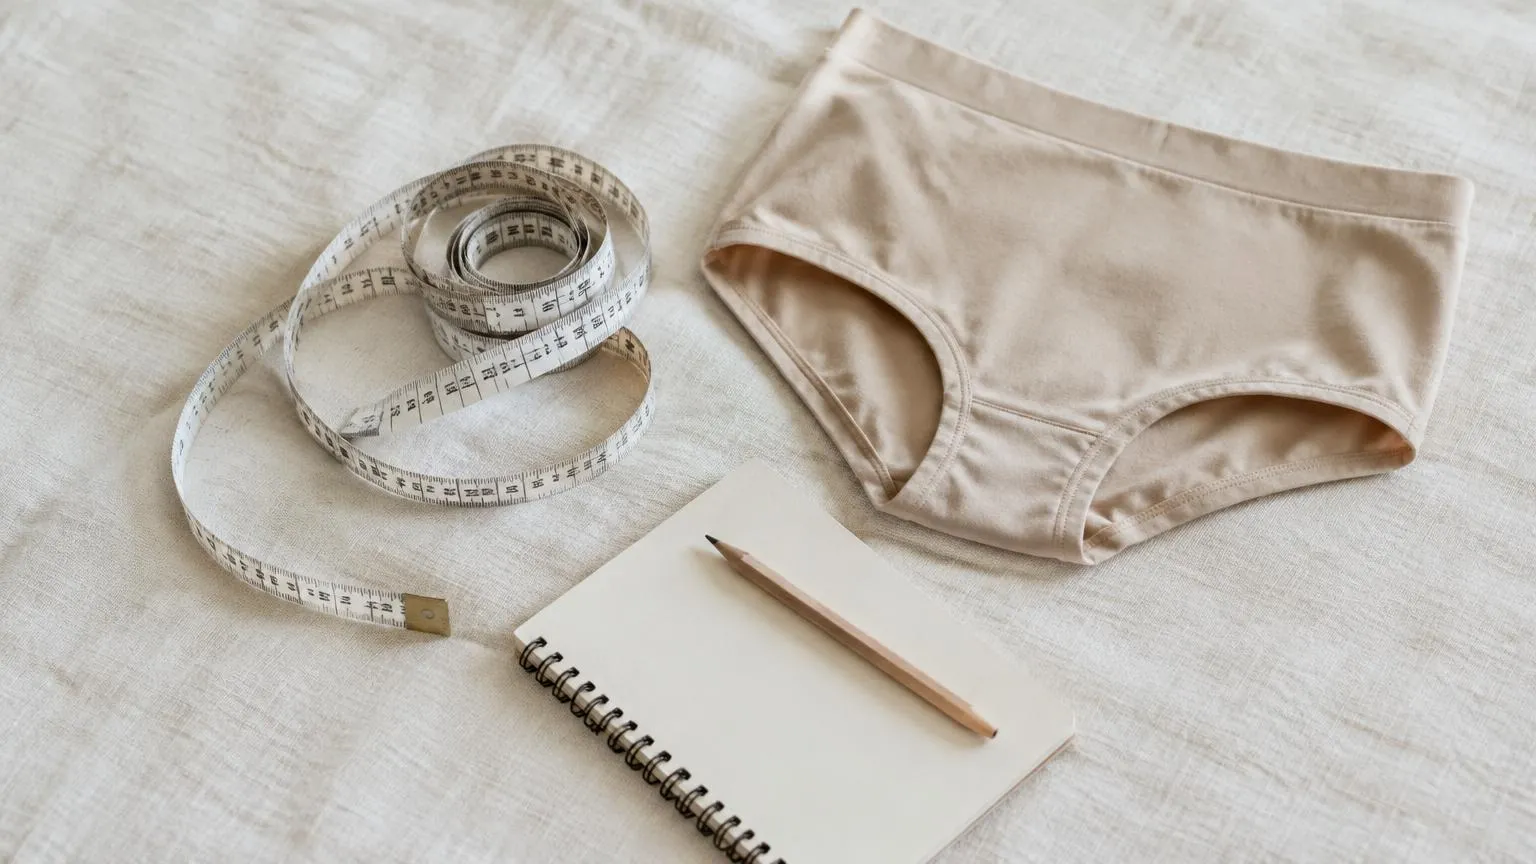
Change cut when one area fits and another doesn't: a good waist with tight legs, for example, or enough back coverage with a gaping front opening. You don't need to make every part tighter to correct one loose edge. Start with waist and hip measurements, then compare the neighbouring sizes if the brand allows.
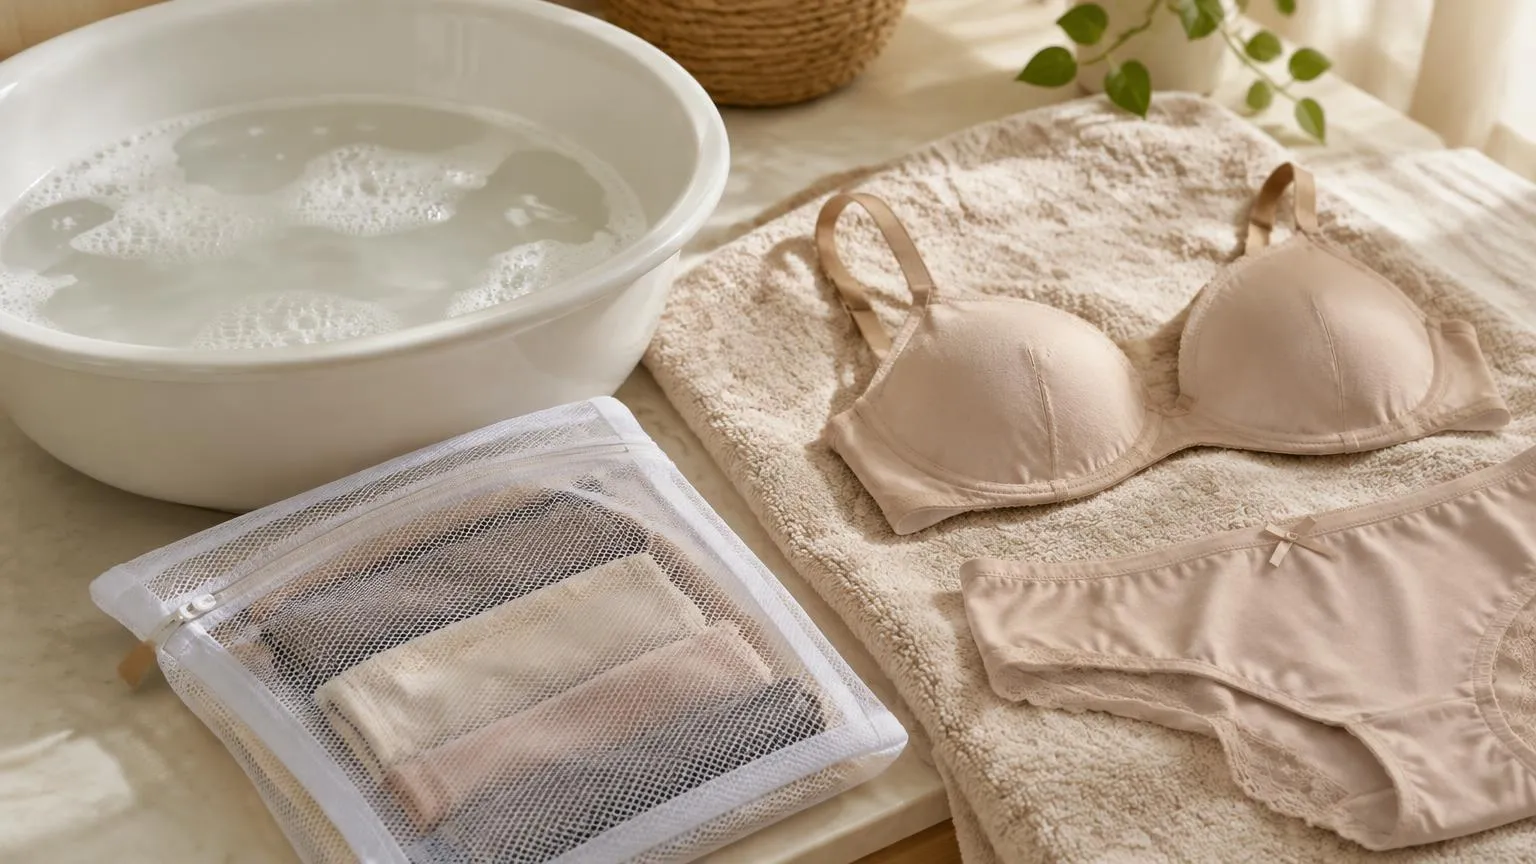
If an older favourite has changed shape, compare it with a newer pair before changing your size. See washing, drying and signs of wear.
When to stop adjusting
If chafing breaks the skin or you have a persistent rash, stop wearing the pair that rubs and ask a pharmacist or doctor for advice. Don't keep experimenting with tighter cuts over sore skin. The NHS advises seeing a doctor for persistent, recurrent or severe contact-dermatitis symptoms and speaking to a pharmacist when those symptoms are troubling you (NHS). A fit checklist can't identify the cause of a rash.
Sources and further reading
External pages referenced in this guide. Brand fitting guides describe that brand's own sizing; check each brand's chart.
- Contact dermatitis (NHS) (nhs.uk)
Report an outdated detail or broken link
Found something out of date, or a source link that no longer works? Let us know. We read every report and fix errors as described in our corrections policy.
Keep reading